Guide on How to Repaire Broken LED Lights & LED Lamp
An LED light strip is fairly difficult to damage. They can take quite a bit of wear and tear.
There are a ton of advantages to using LED bulbs instead of incandescent. Over time though, if put through enough stress, they can become torn, faulty or go out.
And bending or crimping light strips around corners without proper connections is also a major cause of light strip failure.
Fixing broken LED light strips, LED Tube lights, or LED light bulb that wont turn on could be very easy! Don't throw them away!
Following is step by step guide on how to fix or repaire faulty LED Lights.
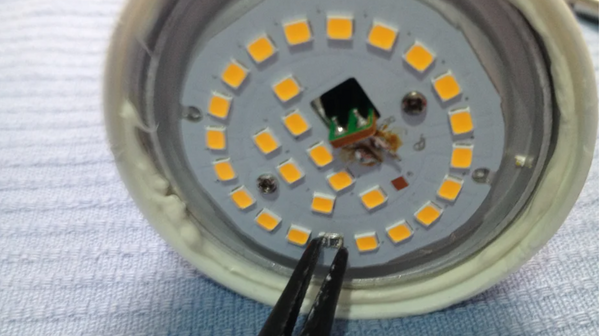
Step 1—Disassemble the bulb by removing the dissipator housing with a small screwdriver.
Step 2—Locate the burned out LED by looking for a black spot or burn marks.
Step 3—If there is no visible damage, use a multimeter to test the diode function. Touch the anode with the red probe and the cathode with the black probe to locate the diode that doesn't light up.

Step 4—Remove the faulty LED with hot tweezers.
Step 5—Solder the old LED with a new one of the same type (usually marked on the bulb PCB.) Soldering temperature is 260 degrees C for no more than 2 seconds.

Step 6—Reattach the dissipator housing. You may need to use glue to keep it closed.


POST COMMENTS